Homemade Jelly: 5 Tips for Making the Best Jars of Jelly
Select the right fruit, jars, and more with these tips for making jelly!

There’s nothing quite like spreading homemade jelly on a slice of toast or on a biscuit that has just been baked. Sugary sweet and full of flavor, a jar of jelly that has been homemade is simply bursting with fresh taste that can be miles above a jar of premade jelly purchased at the grocery store. This type of preserved fruit recipe is typically easy to make and can be made with a wide assortment of ingredients. However, there's more to making jelly than simply picking out a recipe. From selecting the right fruit to include in your recipe to labeling your stash of jars of jelly, there are quite a few factors to consider.
If you’d like to add learning how to make jelly to your bucket list this summer, then you’ll want to keep Homemade Jelly: 5 Tips for Making the Best Jars of Jelly in mind. Delicious jars of jelly will be within reach with these tips and ideas, and you'll find that learning how to make jelly isn't as difficult as you may have thought it could be. These delicious and easy fruit recipes are a great way to lock in fresh that fresh taste!
How to Pick the Right Fruit to Make Jelly
There’s more to homemade jelly than simply picking up a few pounds of your favorite fresh fruit. However, not just package of fruit will do. In general, you should select fruit that is ripe and does not have any mold or bruises according to the University of Minnesota Extension. You will also need to wash the fruit thoroughly before using it to make jelly; as you wash the fruit, inspect it for any bruises or mold. In addition, the University of Illinois Extension points out that some types of fruit, including currants, may be used for making jelly when they are only half-ripe. When in doubt, consult the extension site of your state university for region-specific information regarding which fruit to select for jelly.
Stick to the Recipe for Best Results
Making jelly can be a time-consuming and stressful process. However, doubling a batch of jelly as a way to cut down the overall cooking time and preparation may not be an effective solution. Tinkering with the recipe in any way, including adding or reducing key ingredients, or even doubling the batch, may result in a jelly that does not get properly, as noted by Colorado State University Extension. The result could mean that you have jars of jelly that you can no longer use and will likely need to throw away.
Selecting Jars for Jelly: How to Pick the Best Options
When it comes to using jars for homemade jelly, not just any jar will do. While you can reuse last year’s jelly jars to make this year’s batch, you should do so with care and by keeping caution in mind. Michigan State University Extension notes that jelly jars that have been reused may show signs of wear, including scratches and even chips. If your stash of jelly jars has seen better days, then it’s time to spring for some new replacements. In addition, the organization advises against repurposing jars from commercial products for your homemade preserves. You may find the jar used for mayonnaise or pickles may not seal correctly.
Make Room for Headspace in Your Jar
It’s tempting to fill each jelly jar to the very top with your homemade jelly so that you can finish the task a bit faster. However, the saying “too much of a good thing” can apply to putting jelly in jars. Headspace — which PennState Extension notes is “the space in the jar between the inside of the lid and the top of the food or its liquid” — is a crucial part of making jelly. If you fill up the jar to the top with jelly, then the organization notes that the fruit may boil out in the canning process. On the other hand, if you fill a jar with too little jelly, then the jelly might become discolored. With that in mind, what is the right amount? The organization recommends a headspace of approximately 0.25-inch for jelly.
Store Your Finished Jelly for Later Use
Now that you have your jars of jelly, it’s time to think about storage. As much as you might want to display your hard work by placing the jars of jelly on your countertop, you’ll need to use other storage spaces. National Center for Home Food Preservation notes that your homemade jelly can be stored in a cool, dry, and dark place, such as your basement, and should be used within a year. To stay organized, consider using stickers or other types of labels to note the date by which you should eat your jar of jelly.
Get Cooking with These Homemade Jelly Recipes
Ready to scope out your favorite farmers market for fresh fruit and start making jelly? With these recipes for jelly right at your fingertips, you’ll be inspired to get to work right away. You'll find that the following recipes will also make exquisite gifts for everyone on your list for the holidays. Just print out pretty labels with the name of your jelly and the ingredients list, and you’ll have a unique — and delicious! — gift to share with family and friends. We've also included a few easy recipes for jams, preserves, and marmalades, too.
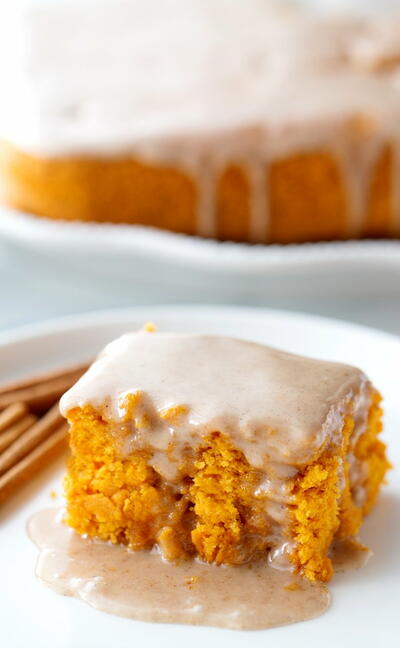
Old-Fashioned Blackberry Jelly (pictured below)
Blackberry Jam
Spiced Apple Pear Jam
Homemade Peach Jam

What is your best tip for making jelly?