Water Bath Canning: How to Can Your Foods Safely
Water bath canning in Mason jars isn't just for your grandparents! In today's world of homegrown produce and artisan food, this method of canning is having a comeback. But if it isn't done properly, the food can be ruined and unsafe to eat.
There are basically two methods of canning: pressure canning and water bath canning. Pressure canning is good for just about any food for preservation. It allows you to heat the jars to much higher temperatures, which will kill the bacteria and keep your foods safe to eat for long periods of time.
Water bath canning, on the other hand, is a little more old school, and you can't use this method for just any old foods! Because the temperatures you can achieve with this method are limited, you can only use it to safely can highly acidic foods, like fruits and pickles.
Here is what you need to know:
Before You Start
Know your acidity. Water bath canning is for high-acid foods only. Meats and vegetables must be canned with a pressure canner to prevent botulism.
Know your altitude. When it comes to water bath canning, everything is about pressure, which can change based on your altitude. As a rule of thumb, add about 30 seconds to 1 minute of boiling time for every 500 feet of altitude above 1,000 feet; The higher the altitude, the more time your foods will need to boil in order to get rid of all bacteria. Not sure what your altitude is? Check out this elevation finder from freemaptools.com!
Know your stove. If you are water bath canning on an electric stove, make sure the bottom of your canner or pot is mostly flat.
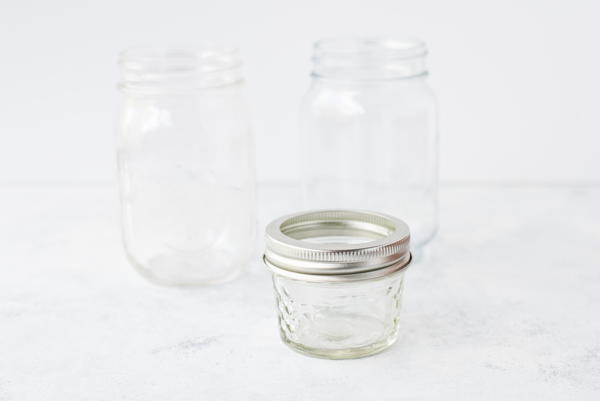
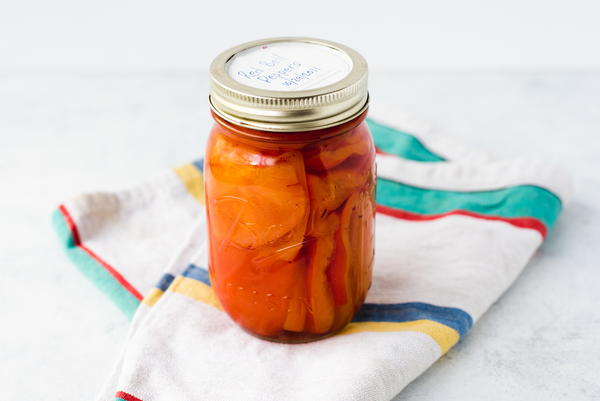
Know your jars. Glass Mason jars with two piece lids are pretty much the best (and only) recommended jars for water bath canning because they can handle the high temperatures. Glass jars with unusual shapes might look cool on your shelves later, but they can sometimes not seal properly.
What You Will Need
- Sanitized glass Mason jars with two-piece lids
- A water bath canning pot
- Jar rack
- A funnel
How to Can Food with a Water Bath
Step 1: Center your pot or canner on the burner and place the canner rack in the canner. Make sure your canner does not hang over the sides of the unit more than two inches.
Step 2: Full the canner halfway with water and preheat to 140 degrees F (raw packed) or 180 degrees F (hot packed). If you aren't sure if the food you are canning should be hot packed or raw packed, consult our water bath canning times chart below!
Step 3: While the water is preheating, sterilize and dry your jars.
To sterilize your jars:
- In the pot that you will be using to seal your jars, place your empty jars.
- Make sure the jars are completely covered with water.
- Bring the water to a complete, rolling boil and let the jars boil for about 15-20 minutes.
- Remove the jars.
- The jars should be filled with the food that you plan to can within one hour of sterilzation.
Step 3: Fill your jars with the foods that you will be canning and cover with the lids and ring bands.
Step 4: Place your jars on the rack in the canner and cover with one inch of water.
Step 5: Turn the heat on your stovetop all the way up until the water starts boiling.
Step 6: Once the water is boiling, lower the temperature to keep the water at a consistent boil for the duration of the canning process.
Step 7: Set a timer for the appropriate amount of time for the type of food you are canning. Keep your water bath canner covered during the boiling process.
Note: It might be necessary at some point to add more water to the canner in order to keep the jars covered. If you have to do this, make sure the water is boiling before adding it to the canner; if you add regular water to the canner, you will lower the temperature of the water, and the jars might not seal properly. Be sure to add the water around the sides of the jars and not directly on top of the jars themselves.
Step 8: When the time is up, carefully remove them from the canner one at a time with tongs and set them on a towel or a cooling rack. Be careful not to tilt the jars when removing them. You may want to wait a few mintes after boiling for the water and jars to settle before removing them.
Step 9: Let the jars sit over night (or for at least 12 hours).
Step 10: Remove the ring bands from your jars.
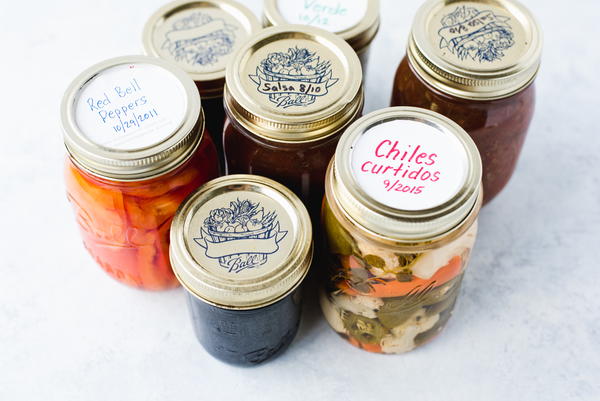
Step 11: Label the jars and store!
How NOT to Can Foods
Times have changed, and the more we learn about food safety, the more we begin to realize that some of the canning methods used in the past are horribly unsafe.
Oven Canning: This once-popular method might be easier, and it wil definitely seal your jars, but this method should be avoided because it's very difficult to get the entire contents of your jar to the proper temperature. To ensure proper, safe canning, this method should be avoided.
Dishwasher Canning: Much like oven canning, this method had a moment of popularity, but ultimately this method is unsafe because the temperatures in a dishwasher do not get near the required temperatures for proper canning.
Adding Aspirin: Some say that adding Aspirin instead of sugar to your foods when canning will help them seal better. This is neither true nor safe.
Water Bath Canning Times Chart
| Food | Head Space | Pack Stlye | Time (minutes) | |
|---|---|---|---|---|
| Pint | Quart | |||
| Apples | 1/2 inch | Hot | 20 |
20 |
| Applesauce | 1/2 inch | Hot | 20 | 30 |
| Apricots | 1/2 inch | Hot |
25 | 30 |
| Raw | 20 | 25 | ||
| Blackberries | 1/2 inch | Hot | 15 | 20 |
| Raw | 15 | 15 | ||
| Cranberries | 1/2 inch | Hot | 15 | 15 |
| Cherries | 1/2 inch | Hot | 25 | 30 |
| Raw | 15 | 20 | ||
| Fruit Juices | 1/2 inch | Hot | 15 | 15 |
| Grapefruit | 1/2 inch | Raw | 10 | 10 |
| Grapes | 1 inch | Hot | 15 | 20 |
| Raw | 10 | 10 | ||
| Necatrines | 1/2 inch | Hot |
25 | 30 |
| Raw | 20 | 25 | ||
| Oranges | 1/2 inch | Raw | 10 | 10 |
| Peaches and Pears |
1/2 inch | Hot | 25 | 30 |
| Raw | 20 | 25 | ||
| Pickles (Dill and Sweet) |
1/2 inch | Raw | 10 | 15 |
| Pickle Relish | 1/2 inch | Hot | 10 | - |
| Raspberries | 1/2 inch | Hot | 15 | 15 |
| Raw | 15 | 20 | ||
| Rhubarb | 1/2 inch | Hot | 15 | 15 |
| Strawberry (Jam) | 1/4 inch | Hot | 5 | - |
| Tomatoes (Crushed or Juiced) |
1/2 inch | Hot | 35 | 40-45 |
| Tomatoes (Whole or Halved) |
1/2 inch | Raw | 85 | 85 |
What kinds of foods do you like to preserve?
Read NextGround Chuck vs. Ground Beef