Chocolate and Vanilla Cream Cake Slices | Milchschnitte

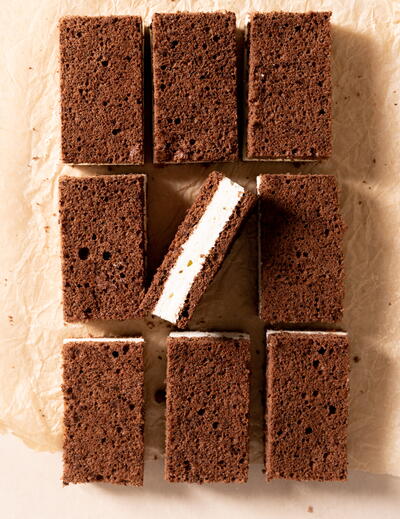
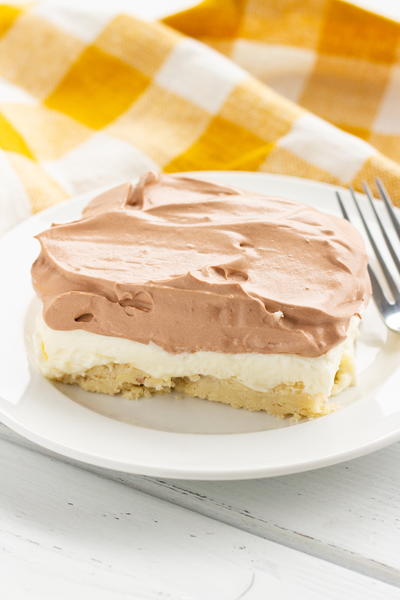
Directly translated, Milchschnitte means “milk slices,” which makes sense because the filling has a milky cream taste to it, but they’re so much more than that. Milchschnitte are one of those treats that kids get in Germany, individually wrapped at the local grocery store or newsstand on their way home from school. Whether you’ve had Milchschnitte before or not, you can’t help but feel like a kid when you eat these light and airy slices with your hands like an ice cream sandwich. Made with two layers of thin chocolate cake sandwiched with a stiff vanilla cream, they’re the perfect little sweet snack or a fun dessert to finish off a warm summer night.
Servings: 12 to 16
Active Time: 45 minutes
Total Time: 8 hours
Ingredients
- Chocolate Cake
- 56 grams (1/4 cup + 3 tbsp) all-purpose flour
- 12 grams (11/2 tbsp) cornstarch
- 1/2 teaspoon baking powder
- 25 grams (3 tbsp + 2 tsp) cocoa powder, Dutch processed
- 4 large eggs, room temperature
- 64 grams (41/2 tbsp) granulated sugar
Cream Filling- 75 milliliters (5 tbsp) milk, cold
- 7 –8 g (2 tsp) powdered gelatin (1 packet)
- 400 milliliters (11/2 cups + 2 tbsp + 2 tsp) heavy whipping cream, divided
- 75 grams (5 tbsp) powdered sugar
Instructions:
Chocolate Cake
-
Preheat the oven to 350°F (177°C) and place a rack in the middle of the oven. Line an 18 x 13–inch (46 x 33–cm) baking sheet with parchment paper (all the way to the edges) or a silicone baking mat. Sift the flour, cornstarch, baking powder and cocoa powder into a medium bowl and set aside.
-
Crack all four eggs into the bowl of a stand mixer. Use the whisk attachment to whisk on high for 3 to 5 minutes, until the eggs are very fluffy and tripled in volume. Turn the mixer down to medium and sprinkle in the granulated sugar. Turn the mixer back up to high and mix again for 2 minutes. Take the bowl off the mixer and dump in the sifted dry ingredients. Use a wide, flat spatula to gently fold the dry ingredients into the whipped eggs.
-
Pour the fully mixed chocolate batter onto the lined baking sheet, evenly down the center lengthwise. With the rubber spatula or an offset spatula, carefully spread the batter to the edges of the pan. Bake the cake in the preheated oven for 12 minutes.
-
After 12 minutes, take the pan out of the oven and place it on a wire rack. Immediately, run a knife along the edge of the cake to loosen it from the pan. Place a second sheet of parchment over the cake and then flip a second baking sheet upside down over everything so that the edges of both pans are lined up and the cake isn’t squished. Holding onto both pans (you’ll want potholders for this), flip the pans over so that the cake tips into the cold pan. Take the top, hot pan off and gently peel away the silicone baking mat or parchment paper. Leave the cake to cool fully while preparing the filling—this will only take 10 to 15 minutes because the cake is so thin.
Cream Filling
-
In a medium-sized heat-safe bowl, stir together the cold milk and gelatin. Set aside.
-
In a small sauce pot, add in 150 milliliters (1⁄2 cup + 2 tablespoons) of the cream and heat it over medium heat for 5 to 10 minutes, stirring frequently, until it is steaming. Turn the heat off and pour the hot cream into the bloomed gelatin. Whisk to allow the bloomed gelatin to dissolve into the hot cream. Allow the mixture to cool to room temperature, stirring frequently to allow it to cool evenly without clumping.
-
Once cooled, pour the remaining cold whipping cream into the bowl of a stand mixer with the powdered sugar. Use an electric mixer with the whisk attachment to whip the cream, first on medium-low until the powdered sugar is mixed in and then increasing the speed to medium- high until stiff peaks form. Pour the cooled gelatin mixture onto the whipped cream and fold to combine.
-
Cut the cooled cake in half so that you now have two rectangles that are 13 x 9 inch (33 x 23 cm). Scoop the cream filling onto one half of the cake and spread into an even layer within a 1⁄4 inch (6 mm) of the edge of the cake. If the filling is a little soft and too runny to hold its shape, place the bowl in the refrigerator for 5-minute increments until it is stiff enough to spread.
-
Place the second rectangle of cake over the top of the filling and press it down gently so the filling squeezes all the way to the edges. Place the cake in the refrigerator for at least 4 hours or up to overnight to set. Once set, use a long, sharp knife to trim away the edges. Then, cut the cake in half lengthwise, parallel with the longer sides. Clean the knife between each cut for neat slices.
-
Then, turn the pan 90 degrees and cut it into sixths or eighths perpendicular to the cuts you have just made. You will be left with 12 or 16 slices depending on the size you chose.
Note
These are best stored in an airtight container in the refrigerator and can be kept there for up to a week, if they last that long.
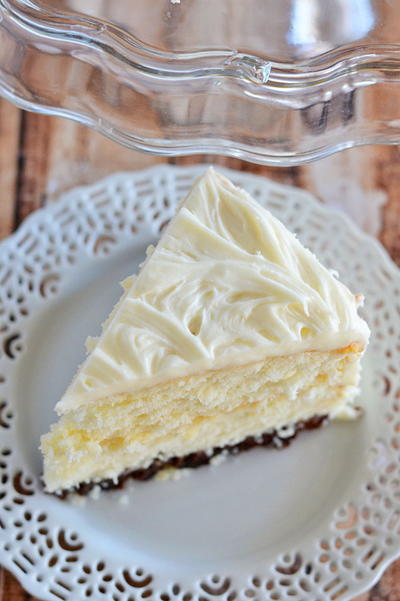
Read Next1950s Hot Milk Sponge Cake