This recipe was submitted by one of our readers, just like you.
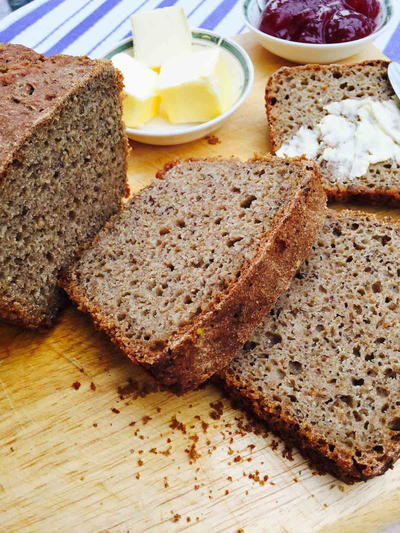
Rye and Ground Linseed Bread

Rye and Ground Linseed Bread
"Making bread must be one of the most satisfying of all baking in the world, well…, for me at least. I could make, knead bread all day long, everyday. I love making it, baking it, I love the smell of it and of course I love eating it. Again it must be something haunting me from my childhood times because my both grandmothers used to bake the most amazing breads; all types and some of those were specific for Easter and Christmas times. So, for me bread baking is such an unique affair, it fulfills all my senses, especially the one of satisfaction."
NotesI always slice the bread and freeze it as it is likely that you won’t have it all within a day unless you put it on the table for loads of people or for a party. Otherwise, when I bake it for the four of us only, I do freeze it (sliced and arranged nicely in freezer bags) a few hours after cooling has finished.
Freeze it from fresh and, whenever you want to have a slice or two, just toast the required amount, it’s simply amazing. It tastes and feels as if it has just been freshly baked. If you choose to keep it, it has to be stored in a paper bag and has to be consumed within 3-4 days.
But, just to summarize the steps for baking bread in general, they apply in most homemade and hand-prepared bread but are not the same when you choose to machine-make the bread.
Serves12
Preparation Time20 min
Cooking Time50 min
Ingredients
- 1 kg rye flour
- 250 g spelt flour (light)
- 250 ml water (lukewarm)
- 200 ml butter milk
- 100 g linseed (crushed/ground)
- 18 g dry yeast (fast action yeast is best)
- 2 tsp himalayan salt (or sea salt, or kosher salt)
- 1 tbsp sugar
- 4-5 tbsp olive oil
-
In a large bowl mix in the flours, sprinkle the salt more towards the edges. Form a well in the middle. Make sure salt is not sprinkled in this well.
-
In a cup/mug mix the yeast with the sugar and pour 100 ml lukewarm water. Mix well until both sugar and yeast dissolve. You could leave it in the cup or pour it in the well formed in the flour. I recommend the latter as leaving it in the cup requires that you keep an eye on it as it will overflow so, best is to pour it in and set aside for around 20 minutes.
-
Once the yeast has become all a big bubble start kneading the bread. Pour the remainder of the water and the buttermilk and the crushed linseed. Mix very well and knead until the dough no longer sticks to your hand. This will probably take 4-5 min or so.
-
Gradually add the olive oil while still kneading. Feel free with punching, slapping, stretching, whatever you feel like doing with it but as I said the low gloutenous flours do not require that much working but maybe half the time (5-6min instead of 10-12 min what would be needed for a higher gluten flour).
-
When finished, smooth the surface into a big ball and cover.
-
Allow to prove for as many hours as you fancy. I normally leave it between 4-8 hrs.
-
When finished with proving just put into the baking tray.
-
Allow to prove again for an extra hour or so and then place in the oven. Bake at 190 C for 40-50 min.
-
When ready, turn oven off and allow a good 20-30 min to cool.
-
Take out of the oven and cover with a towel for another 20-30 minutes outside the oven. Then, take out from baking tray and serve slightly warm or cold with anything you like, whether that is sweet or savoury. Simply divine! P.S. break it if you want to eat it pretty warm and only cut when it has completely cooled.

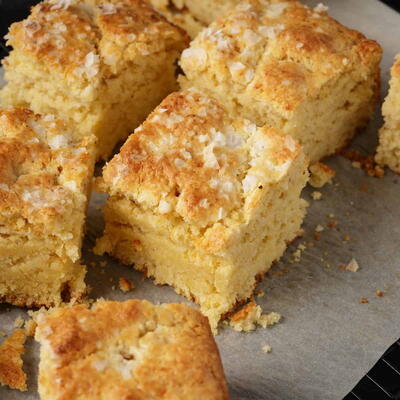
Read NextCornbread Biscuits