This recipe was submitted by one of our readers, just like you.
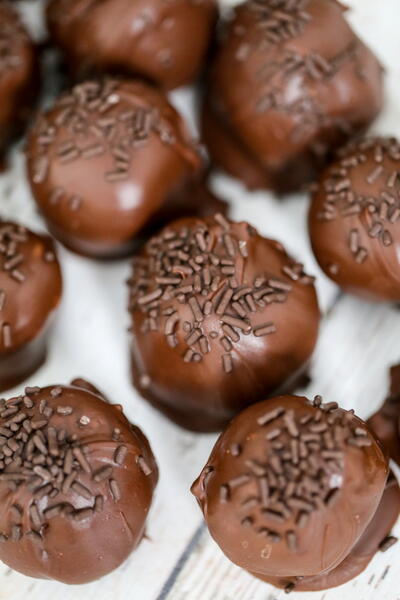
Quick, Delicious, Nuts and Dark Cacao Brownies

Quick Delicious Nuts and Dark Cacao Brownies
"It’s almost Christmas with loads to do and a simple yet delicious brownie like this can just save you precious time as with this dessert recipe there is no need to spend time on tempering chocolate or anything complicated at all. I’m not suggesting that temping chocolate it’s that difficult or complicated but it does takes some extra time. Yes, brownies with no chocolate, and they are still sooooo good and decadent in fact I prefer those to the ones with chocolate. What I like the most about this is that you will have them ready at top, top speed, seriously."
NotesThis recipe makes 16 -20 squares and as I was saying somewhere earlier it can be kept in the fridge in an airtight container for even 3-4 weeks but I doubt you’ll have any left 3-4 hours later ....I’m just saying in case you choose to quadruple the recipe ?.
Serves4
Preparation Time10 min
Cooking Time20 min
Ingredients
- 200 g sugar cane -unrefined
- 120 g butter browned *
- 2 eggs room temperature
- 75 g cacao powder *
- 1/4 tsp salt
- 1/3 tsp Vanilla powder
- 45 g spelt flour
- 75 g nuts chopped and toasted * I used walnuts and pecans
Instruction
-
Pre-heat the oven to 170°C or 150°C if it’s fan assisted or gas mark 3.
-
Line a 20 cm² brownie tin or any oven proof dish. I use ceramic ones sometimes.
-
Melt the brown butter or brown it now if you don’t have any (see recipe notes for details) and set aside.
-
Grab a bowl and combine the sugar, Cocoa powder, and the salt. Stir those nicely and add the butter slowly whisking it in.
-
Add the eggs which should be at room temperature, one by one and beating in between.
-
Add the vanilla and stir in the flour gently. Add the nuts (roughly chopped and toasted). Mix a little more to combine those too.
-
Spoon the mixture into the tin and bake for 20 or 25 minutes. Check with a skewer and this should come out with just a few moist crumbs on.
-
Allowed to cool before removing from the tin and cut into little squares (between 16-20 squares).