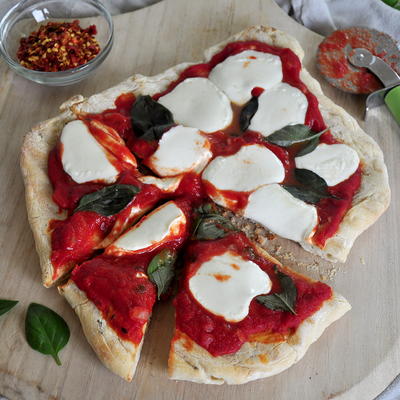
Neapolitan Dough

It is usually the toppings used on a pizza which steal the limelight, but the key to any great pizza is the dough. If you can master this and add great toppings into the equation, then the result will be like nothing you’ve experienced before. A perfectly executed Neapolitan pizza is easily my favorite food, and from the first day of owning my Ooni pizza oven it was something I was determined to master. True Neapolitan pizza dough is made using only four simple ingredients (flour, water, salt and yeast). There are, however, MANY different processes you can follow when trying to make it. I have lost count of the amount of different dough experiments I have carried out in my quest to achieve Neapolitan pizza perfection, but this recipe I am sharing with you is as good as it gets in my opinion. By meticulously following my step-by-step process and using all my tips and tricks, you too will be making authentic Neapolitan pizzas with those iconic light, airy and digestible crusts together with beautiful slightly charred bubbles on the surface of the crusts (aka leoparding).
Yields4 (11” [28-cm]) pizzas
Ingredients
- 677 grams 00 flour
- 0.34 grams instant dried yeast
- 426 grams water
- 17 grams salt
- Fine semolina flour
DIRECTIONS
-
Weigh the flour, yeast, water and salt. The water can be used straight from the tap and doesn’t need to be warm, especially if you’re using a stand/spiral mixer. The friction of the machine generates heat, which can affect the final temperature of the dough. Also, since we are fermenting for 24 hours, we want to control the yeast so it is not too active. If you are making dough in very warm conditions (for example, in a room above 75°F [24°C]), I recommend putting your water in the fridge for a few hours so that the final temperature of the kneaded dough isn’t too high. Ideally you are looking for a dough temperature of 68 to 73°F (20 to 23°C).
-
In your bowl, add the flour and yeast and mix just to combine. While mixing on low speed, or by hand, gradually add 95 percent (405 g) of the water until the dough has come together and formed a rough-looking ball. This should take 2 to 3 minutes. If there are any bits of flour around the edge that haven't been incorporated, scrape around the inside of the bowl with a plastic dough scraper. Cover the bowl with a towel (dry or damp), and let the dough rest for 20 minutes. Resting the dough at this point will hydrate the flour and encourage the gluten development to begin.
-
Add the salt and a splash of the remaining water. Turn the mixer on to medium speed. Gradually add the remaining water and mix for approximately 7 to 8 minutes until the water has been absorbed and the dough starts to have a smoother consistency. It is important to gradually add the water, as too much at once will result in your dough being spun around by the dough hook rather than kneaded. If mixing by hand, once you have added the salt and water and mixed until the water has been absorbed, turn the dough out onto a clean countertop and knead for 8 to 10 minutes until smooth and not tacky to the touch.
-
If you have a thermometer, it’s a good idea to check the temperature of the dough at this stage. The dough should be 68 to 73°F (20 to 23°C). If your dough is less than 68°F (20°C), continue to knead/mix until you reach this temperature. Don’t worry if your dough has gone past this temperature range; it just means you will need to be a little more careful when stretching out the dough ball before topping so it doesn’t tear.
-
Take the dough out of the mixing bowl (if using a stand/spiral mixer) and form it into a ball on a clean countertop. Don’t be tempted to add flour to the countertop, as this will affect the hydration of the dough. Cover the dough with a towel (dry or damp), and let it rest directly on the countertop for 15 to 30 minutes. This rest period allows the dough to relax and helps you achieve a nice, smooth ball in the next step.
-
Uncover the dough, and with both hands, lift it off the countertop and fold it over three to four times, rotating 90 degrees after each fold.
-
After the final fold, pull the dough toward you to shape it into a smooth ball.
-
If mixing by hand or in a standard stand mixer, repeat this step another two to three times, covering and resting for 15 minutes after each time. This technique of stretching and folding the dough will increase the tension and build up the strength of the dough, which in turn, will help prevent your individual dough balls from collapsing and going flat during the second stage of fermentation. This step is not necessary if you are using a professional spiral mixer.
-
After the final set of stretch and folds, transfer the dough to a lightly oiled, airtight container, and let the dough ferment at room temperature for 18 to 20 hours. Adding the oil will help when you remove the dough from the container.
-
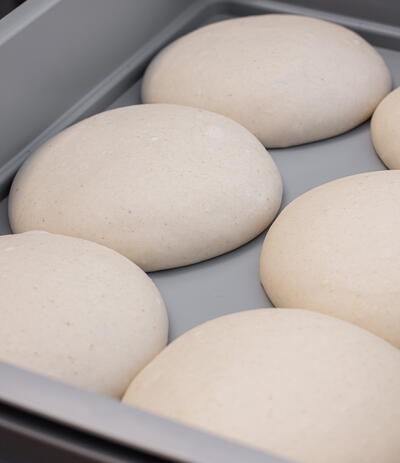
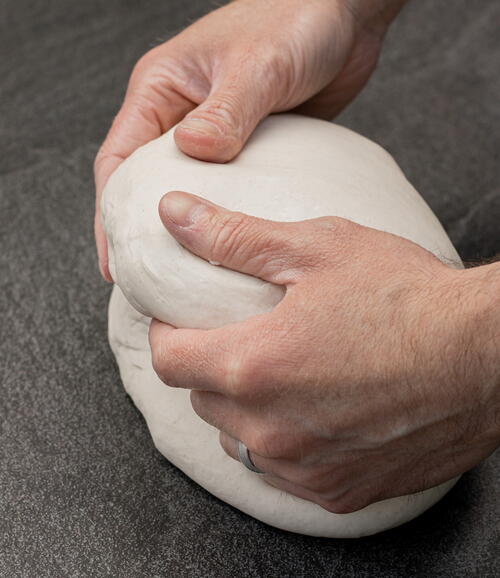
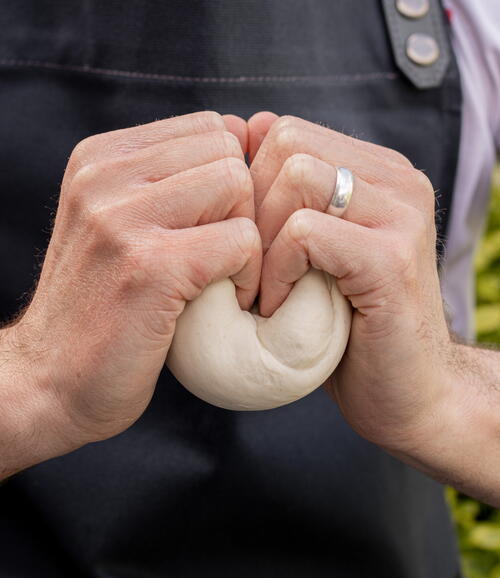
After 18 to 20 hours, the dough should have risen considerably. Remove from the container, and using a dough cutter, divide the dough into four equal-sized portions (approximately 275 grams each). With your hands, form the dough portions into tight balls. To do this, hold the portion of dough in your hands with your fingers curled around the edges and fold the dough in half inward.
-
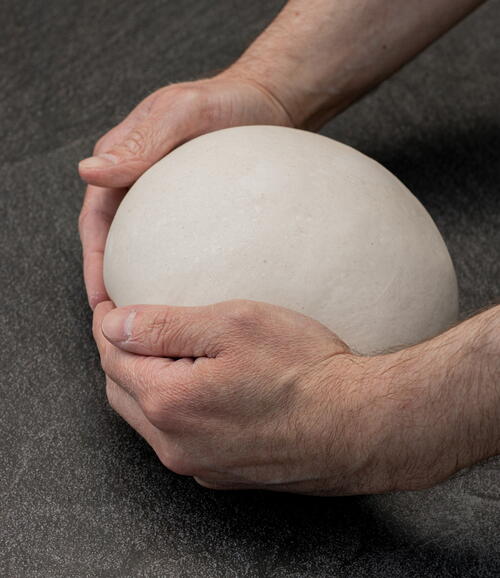
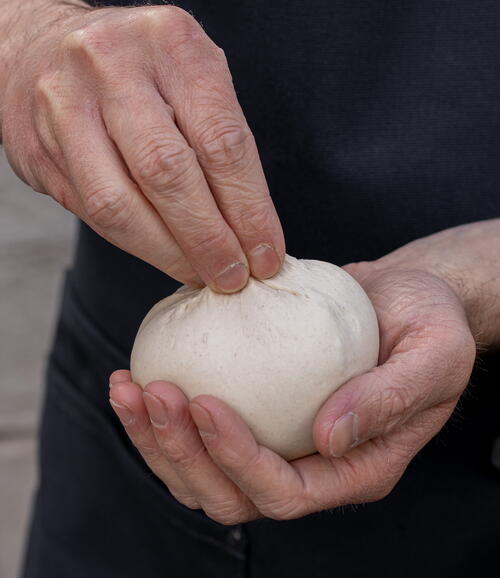
Repeat this step several times, rotating 90 degrees each time. Once the dough ball is nice and smooth with a tight outer surface, pinch the bottom of the dough ball to seal. This will help your dough balls achieve a nice rise during this second stage of fermentation. If the dough is a little sticky and difficult to work with when forming the balls, put a little bit of cold water on your hands.
-
Transfer the dough balls into lightly oiled, individual, airtight containers or an airtight dough tray for 4 to 6 hours at room temperature. Adding the oil will help maintain the balls’ round shape when you remove them. If you are not ready to make your pizzas 4 to 6 hours after balling up your dough, you can transfer the dough balls to the fridge where they will keep for a further 24 hours. In my experience, doing this will result in more prominent blisters (leoparding) on the crust. So, if like me, that is what you strive for, I would recommend doing this. The dough will be much more relaxed, meaning a gentler touch and more care will be required when stretching out the dough. You will need to remove the dough balls from the fridge at least 3 hours before using, to allow them to come back up to room temperature.
-
After 4 to 6 hours at room temperature (or 3 hours after removing from the fridge), tip out your dough ball from the container (or remove it from the dough tray) onto a bed of fine semolina flour. (If you don’t have fine semolina, you can use normal 00 flour that you used to make your dough.) Cover the dough with some extra semolina so it is coated and not sticky to touch. If the dough has lost its circular shape, reshape it at this point. From the center, using your fingers, carefully push the dough down and out toward the edge leaving a ½-inch (1-cm) crust. Keep rotating the dough as you do this to maintain its circular shape as this will impact the final shape of your pizza once it is cooked.
-
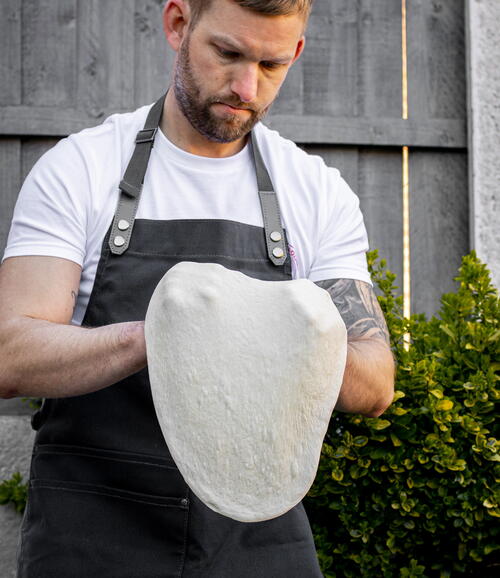
Flip the dough over and continue to stretch it out using this technique. At this point, make sure you don’t flip the dough over again as this is the side we want as the top of the pizza. (This was the side that was at the top when in the individual container or dough tray.) Once the dough has been stretched as far as possible using this technique, pick the dough up, and carefully toss it from one hand to the other a few times to remove some of the excess flour. Hang the dough up right over both sets of your knuckles and begin to rotate the dough through your hands, allowing gravity to stretch it out.
-
Make sure it is the outer edge (just inside the formed crust) that hangs off your knuckles. It’s important not to stretch from the center as this will cause the base to be too thin, causing it to tear. Once the dough is evenly stretched to about 11 inches (28 cm) with a nice, thin base, scrape most of the semolina flour to one side of your surface and place the dough back down onto the countertop. The dough is now ready to be topped.

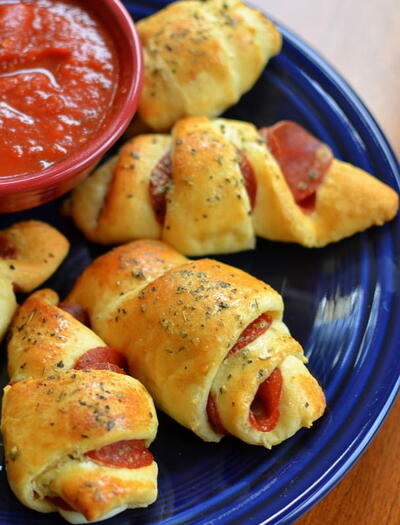
Read NextPizza Stuffed Crescent Rolls