This recipe was submitted by one of our readers, just like you.
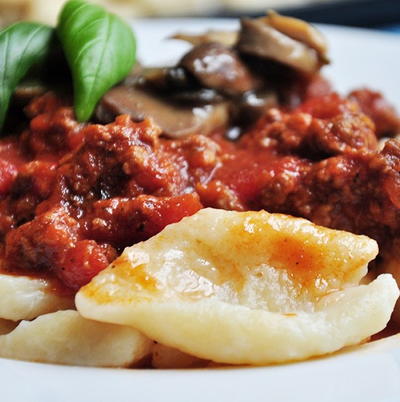
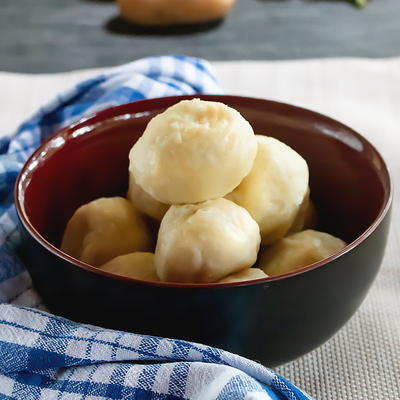
Homemade Potato Gnocchi Recipe

Homemade Potato Gnocchi Recipe
"It’s easy to pick up packaged gnocchi from the store or head to a restaurant to get your fix of these heavenly, pillow-soft potato dumplings. But making your own will have Italian night at your place tasting even more authentic. Best of all, this potato gnocchi recipe takes only 35 minutes to prepare and cook! The versatile flavor of potato gnocchi makes them incredibly easy to dress up, for example, with a hearty meat or garlic-infused cream sauce. You can also dress gnocchi “down” if a simple butter and fresh herb topping are what you’re after. Personally, I love combining a lush green vegetable, such as asparagus, with some bacon and parmesan cheese to make a super satisfying and time-saving meal. (If you’re keen, here’s my recipe for Gnocchi with Asparagus and Bacon)."
NotesTo store the gnocchi for later use, place them on a sheet pan in a single layer and put the pan in your freezer. After a couple hours, place the frozen gnocchi in a plastic bag and keep frozen.
For a delicious variation on the recipe, substitute either grated Parmigiano-Reggiano or grated romano cheese for the ricotta.
Serves8
Preparation Time20 min
Cooking Time15 min
Ingredients
- 1 large baking potato or russet potato, peeled and quartered (yields about 1 cup of mashed potato)
- 2 large eggs
- 1 teaspoon kosher salt
- 1 cup ricotta cheese
- 8 teaspoons butter, clarified
- 1 cup freshly grated parmesan cheese
- 3 cups all-purpose flour
-
In a large pot, cover potato with water and bring to boil over high heat. Reduce heat to medium and let it cook for 10 minutes until the potato is soft and tender.
-
Use a slotted spoon to transfer the potato to a large bowl. Preserve the cooking water for cooking the gnocchi later.
-
Add eggs and salt. Whip until the potato mixture is fluffy.
-
Add ricotta cheese, butter, parmesan cheese, and flour.
-
Knead until the dough is smooth.
-
Transfer the dough onto a large floured surface (or lay a wax paper on a large work surface)

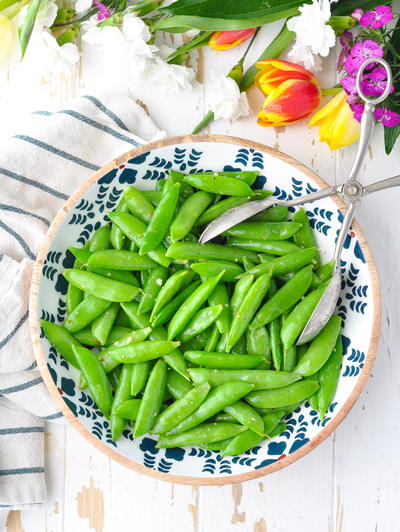
Read Next2-Ingredient Italian Sugar Snap Peas