Holiday Stained Glass Cut Out Cookies
Remember the reason for the season with Holiday Stained Glass Cut Out Cookies. These stained glass cookies catch the light and shimmer like sunshine in a cathedral. These incredible Christmas cookies make beautiful ornaments and sweet treats too!
Notes
Equipment: cookie sheets lines with aluminum foil, then sprayed with nonstick vegetable cooking spray or greased; rolling pin; 3-inch round cookie cutters and small canape cutters.
Store in and airtight container, between sheets of wax paper, at room temperature. Keeps several weeks. Makes 4 dozen.
This is a cookie and a candy all in one. The cookie itself is a crisp sugar-butter cookie, and the candy panes add a sweet fruity flavor and crunch. It was these cookies, hanging on a Christmas tree, with light shining through their transparent candy panes, that inspired me to create a gingerbread cathedral with a stained-glass rose window (recipe in the book, also). For greater ease of preparation, the cookies can be made with one larger cutout in the center, but with many cutouts (admittedly painstaking) they are so breathtaking to behold that they are worth the effort.
Smart Cookie hints:
- Saran Wrap is the ideal plastic wrap for rolling the dough because it lies very flat. Wax paper is the second best choice.
- For precise cutouts, chill the dough after the impressions are made and remove the cutout with the tip of a sharp knife after the dough has firmed enough for each cutout to come out in a clean piece.
- If you are using a blender to pulverize the sour balls, drop the balls with the motor running in order to keep them from getting stuck under the blades.
- Allow the cookie sheet(s) to cool completely before using for the next batch. Distribute the cookies evenly around the cookie sheet. Avoid crowding the cookies into one section of the cookie sheet, leaving a large area bare.
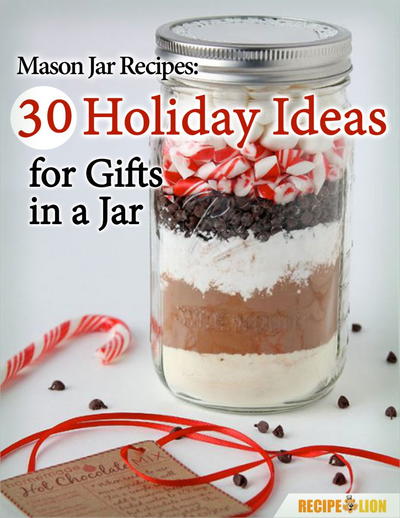
Celebrate With More Festive Recipe Ideas
If you loved making our Holiday Stained Glass Cut Out Cookies, you're sure to enjoy trying out some of our other festive Christmas recipes!
First up, why not try our Gingerbread House Cookies? These charming cookies are perfect for getting creative and decorating with all your favorite candies and icing. They make a fun and delicious project for the whole family to enjoy.
Next, give our Peppermint Bark a try! This classic holiday treat is a delicious combination of creamy white chocolate and crunchy peppermint pieces. It's the perfect sweet treat to enjoy while curled up by the fire with a cup of hot cocoa.
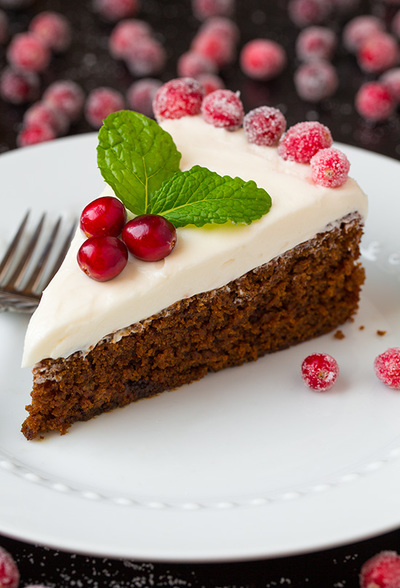
And finally, for those looking for a more traditional Christmas dessert, our Eggnog Cheesecake is sure to impress. This rich and creamy cheesecake has all the warm and cozy flavors of eggnog, making it the perfect dessert for a holiday gathering.
We hope you enjoy trying out these Christmas recipes as much as you enjoyed making our Holiday Stained Glass Cut Out Cookies. Happy baking!
Ingredients
- 2 3/4 cups flour
- 1/2 teaspoon baking powder
- 1/2 teaspoon salt
- 2/3 cup sugar
- 1 cup butter, unsalted
- 2 teaspoons beaten egg (about half a large egg, lightly beaten)
- 1 1/2 teaspoon vanilla extract
- 1/8 teaspoon lemon extract
- 1 cup sour balls, Life Savers, or other hard, clear candy
Instructions
Dough Preparation: Food Processor Method
- In a small bowl, whisk together the flour, baking powder and salt.
- In a food processor with the metal blade, process the sugar until it is very fine.
- Cut the butter into a few pieces and add it with the motor running. Process until smooth and creamy.
- Add the egg and extracts and process until incorporated, scraping the sides of the bowl.
- Add the flour mixture and pulse in, just until the dough begins to clump together.
Dough Preparation: Electric Mixer Method
- Soften the butter. In a mixing bowl, cream together the sugar and butter until fluffy.
- Add the egg and extracts and beat until blended.
- In a small bowl, whisk together the remaining dry ingredients. On low speed, gradually add them to the butter mixture and mix just until the dough can be gathered into a ball.
Preparing the Cookies
- Scrape the dough onto a sheet of plastic wrqap and use the wrap, not your fingers, to press the dough together to form a thick flat disk. Wrap it well and refrigerate for at least 30 minutes, preferably no longer than 3 hours.
- Place 2 oven racks in the upper and lower thirds of the oven. Preheat oven to 350 degrees F.
- Separate the hard candy into individual colors and pulvverize them separately in a blender or food processor. Place each color in a small container and set aside.
- Using about a quarter of the dough at a time, roll out the dough to 1/8 inch thickness between 2 sheets of plastic wrap or on a lightly floured counter.
- Cut out cookies with a 3-inch cookie cutter, spraying or greasing the cutter as needed to prevent sticking.
- With a small, angled metal spatula or pancake turner, transfer the cookes to the prepared cookie sheets.
- If you are planning to hang the cookies as ornaments, make small holes with a blunt end of a wooden skewer. Cut out shapes for the staine glass in each cookie with small cutters or with a small sharp knife.
- Use the tip of a small sharp knife to fill the holes with candy pieces, filling just to the top of the dough.
- Bake for 10 to 12 minutes or until the cookies are lightly browned and the candy has melted completely. For even baking, rotate the cookie sheets from top to bottom and front to back halfway through the baking period. Watch carefully toward the end of baking to see that the candy does not start to caramelize and turn brown.
- Allow cookies to cool completely on the sheets. Carefully peel off the aluminum foil.